Create VM From RHEL 9.6 QCOW2 Image on Ubuntu
Below we will cover steps to create a Red Hat Enterprise Linux (RHEL) virtual machine on Ubuntu using a QCOW2 image.
Prerequisites
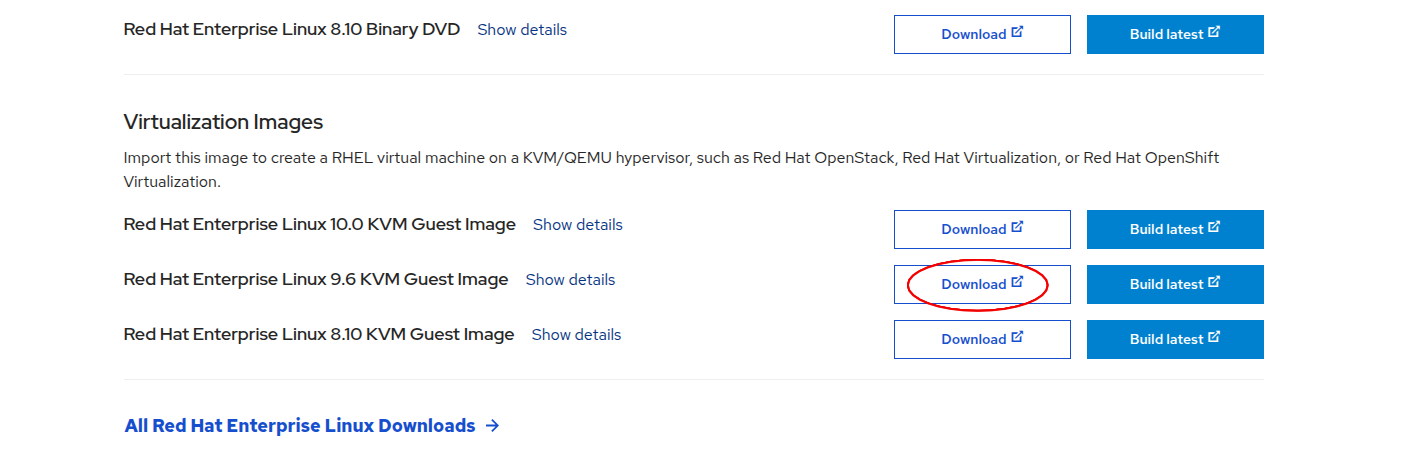
1. Download the RHEL QCOW2 Image:
Download the virtualization image for RHEL 9.* from the Red Hat Portal. It should be in .qcow2 format.
For this guide, we assume the downloaded file is named rhel9.qcow2.
💡 Tip: You can also create a custom image from the Red Hat portal. This allows you to embed your SSH key and subscription activation directly into the image. With a free Red Hat Developer Subscription, you're allowed to run up to 16 RHEL instances. You will have to signup first.
2. Install virt-manager if not present:
Ensure that virt-manager and virtualization tools are installed:
sudo apt-get update
sudo apt-get install virt-manager
Steps >>>
1. Clone the Base Image:
Create a copy of the downloaded QCOW2 image. This prevents modifying the original:
cp rhel9.qcow2 my-vm.qcow2
2. Create the Virtual Machine:
Use virt-install to create a VM from the QCOW2 image:
virt-install \
   --name my-vm \
   --noautoconsole \
   --import \
   --memory 2048 --vcpus=2 \
   --osinfo rhel9-unknown \
   --disk bus=virtio,path=my-vm.qcow2 \
   --network default \
#   --cloud-init user-data=user-data # Uncomment if using cloud-init
For custom built images, you can use username/password or ssh to access the vm.
💡 If you're not using a custom image with your ssh keys baked in it, then you'll need to pass an SSH key via
--cloud-initduring init to access the VM later. You can ssh into the vm usingssh cloud-user@<ip>.To get IP address of vm run:
virsh domifaddr --domain my-vm.💡 Here we have used
rhel9-unknownfor--osinfo. You can find what is suitable for your os usingvirt-install --osinfo list | grep rhel
3. Managing the Virtual Machine:
List running VMs:
virsh list
Connect to the VM Console:
virsh console my-vm
Shut Down the VM:
virsh shutdown my-vm
List All VMs (Including Stopped):
virsh list --all
4. Remove the VM and Disk:
virsh undefine --domain my-vm --remove-all-storage
⚠️ The
--remove-all-storageflag will deletemy-vm.qcow2. If you skip this, you can reuse the disk image to spin up the VM again from its last state.
Bonus
1. Register using Subscription-Manager
To register run:
subscription-manager register --username <username>.Verify using:
subscription-manager identity(it should show org ID).Later to unregister, run:
subscription-manager remove --all
subscription-manager unregister
subscription-manager clean
References: